
Educator Karen Green provides expert advice for parents on supporting learning from home for their primary and early secondary school children. Plus our list of more resources.
This advice is aimed at a primary-aged child, however much of it is applicable to a younger secondary-aged child.
Tip One – You are not the teacher
Realise that you are not replacing school. You are your child’s parent, not their teacher. They are very different relationships. You can be flexible but firm. By establishing some rules and routines, you are reframing what can be achieved together at home when you set parameters and explain very clearly how things are going to play out.
It might be a good idea to create a ‘trigger’ for your children so they know when they are operating in ‘school time’. Traditionally this trigger happens automatically with the routine around kids getting dropped off at school, but if you’re at home you’ll need to create it artificially. Perhaps they still get dressed in their school uniform, and even help to pack a ‘school lunch’.
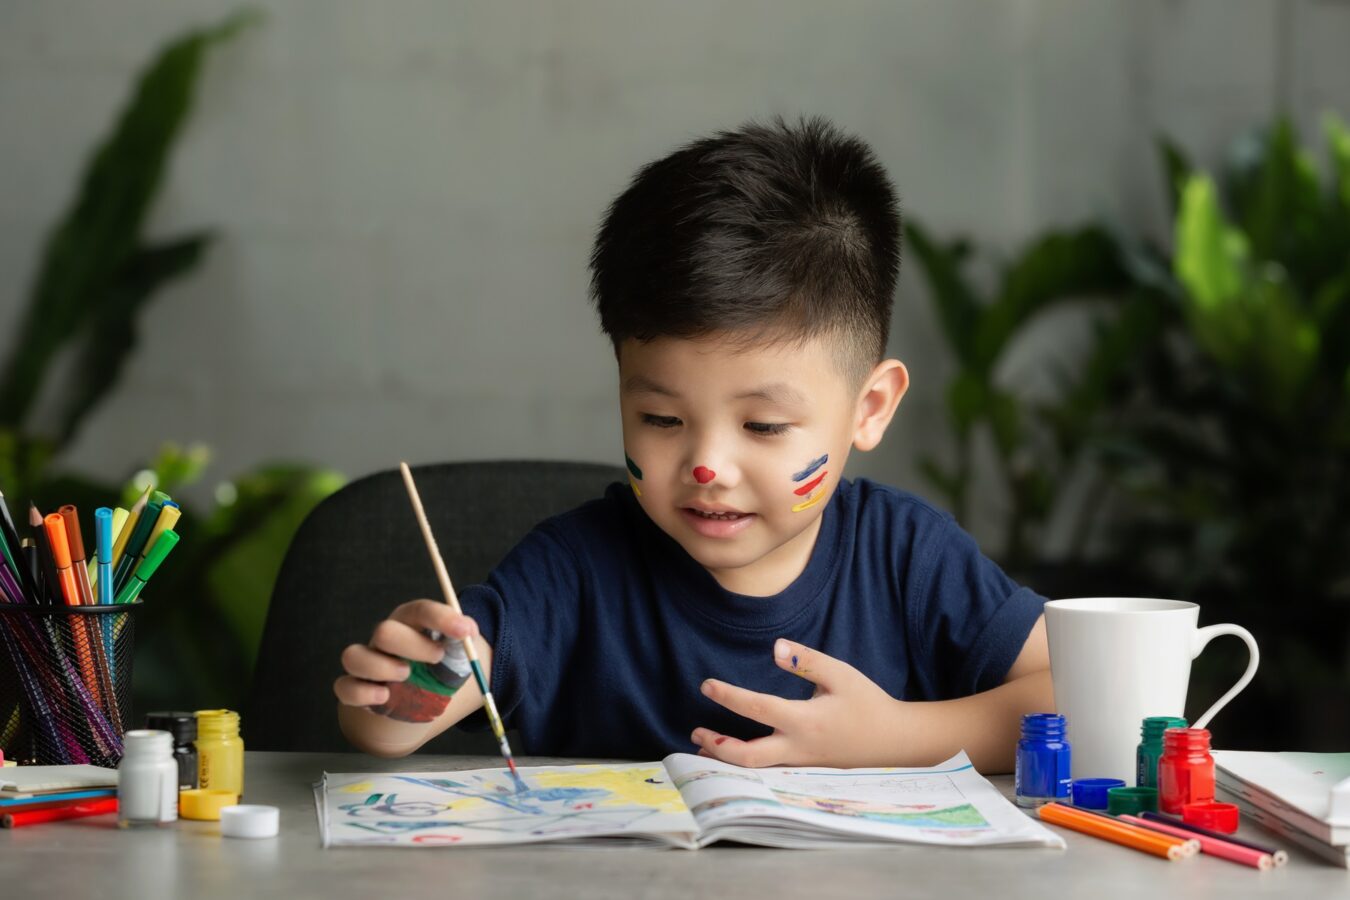
One of the best things you can do as a parent is to provide a ‘specific learning space’, that is, a calm environment that sets up a mindset for your child that this is where they will be doing some structured learning. By doing this, you are ‘clearing the space’ for learning.
Routines and preparedness are very important as reassurance for your child.
There are things you can do to make learning at home more productive and enjoyable for both you and your child, such as:
- Create a chart with a timetable and goals for the week
- Display a clock to keep track of how long different tasks will take
- Ensure there are set break times
- Make sure there is a variety of tasks – mix up those requiring intense concentration, with some that are open-ended and allow for creativity
- Provide healthy snacks and water.
It’s a good idea to punctuate academic learning with some physical activity – this can be something aerobic or it could be something like a nature walk to investigate your local area.
It’s important to recognise the difference between ‘traditional homeschooling’ where parents have opted for their children, to stay at home to be educated, and what is really ‘distance education’. Home schoolers are responsible for providing their children with appropriate lessons and resources. This is not what you are required to do.
Your child’s teacher will still be sending home age appropriate activities and running through the same curriculum as they would in the classroom. It is not your job to source all of the learning materials, they will be provided, either online or in hard copy…
Students will have ‘work’ delivered online via something like Google Classroom or SeeSaw, some will be doing virtual teaching using applications like Zoom or Microsoft Teams.
These are all easy to install and set up. Unfortunately, there is the potential side-effect that we are widening the options for the ‘haves’ and ‘have-nots’. Children without access to the internet and technology at home will need to have further support.

Tip Two– Developing autonomous learners
Learning in schools happens independently a lot of the time. Inquiry-learning is encouraged with students developing autonomy as learners; building a repertoire of skills that enable them to develop their own questions and seek answers through research.
You can do this at home too.
It’s about providing a stimulus and an immersion into an idea then providing time for your child to unpack and explore that idea or concept, with you as their guide.
You might like to pose questions about something that you think your child might be interested in and point them in the right direction to do some research to find out some answers – this may include locating appropriate websites; YouTube clips and blogs.
You might also like to set up a time when your child can ‘present’ their findings. There are a range of ways that students might like to demonstrate their understanding, including the following:
- Speech: Prepare and deliver a speech to the family
- Technological: Use a computer to create a digital presentation such as a slideshow, a website or a computer program
- Report: Write a formal report outlining each of the questions that you had and the answers that you researched
- Article: Write an article for a local newspaper about their research
- Narrative: Write a story about a character that they learnt about
- Multimedia: Create an audio recording or short film explaining their research
- Model: Use materials to create a three-dimensional model to show what they have learnt
- Poster: Create an informative poster to display what they have learnt
Other things you can do with your child that provide stimulation and enjoyment include:
- Cooking that involves recipe reading, measurement of quantities and time
- Set up a veggie patch – read when to plant certain veggies, set up a maintenance schedule for watering and weeding
- Use recycled products to make different things like a robot, a doll’s house, a marble run, collages etc.
- Set up a tea party for teddies
- Set up a ‘shop’ with prices for goods – interact with your child as you ‘go shopping’ using money that has been created by your child
- Create postcards or blogs to send to friends and grandparents
Tip Three – questioning, wait time and pacing
Ask interesting questions and help your child to do this too.
What’s an interesting question?
Students ask lots of questions, so do teachers. Questions can be simple, what are the days of the week? To complex, why is the sky blue during the day?
Simple questions are used to gather information. Complex questions are used to probe and dig deeper.
Here are some question starters that can be used to develop questions – they range from simple to complex.
Simple |
Complex |
| Find the meaning of… Who/what was…? Can you tell why…? True or False? Can you provide an example of what you mean? Who do you think…? Can you tell or write in your own words…? Who was the key character…? |
What do you think will be the end result? How does … connect with….?What do you see as other possible outcomes? What are some of the problems of…? Can you compare your … with that presented in…? How does this connect with your everyday life? Do you think … was a good or a bad thing? Is there a better solution to…? How effective was…? What questions still need to be addressed? Can you give an example of what you mean by…? Can you distinguish between…? |
What is the correct amount of wait time after posing a question?
Answer: three to five seconds.
This is a simple one, but wow does it make a difference. Using the correct amount of wait time will greatly improve responses you get from your child (and everyone else!).
Most often, having asked a question, we might wait until we believe someone has thought about the question before expecting an answer. If you practice wait time you will notice that your child will give better answers. Giving your child more time to think means that there is less pressure on an immediate response.
Employing wait time
First, let your child know that the question is important and you want them to think of a response.
Second, tell them that you are applying wait time to give them all time to consider a response and that you won’t accept any responses for between 3-5 seconds.
If your child can’t answer your question, rephrase it. This is very important. Don’t just ask the same question again, or louder. Rephrase the question, come at it from a different angle.
Even when you get the desired response, it is best to elicit more responses from your child. This shows that you value thoughtfulness rather than speedy responses.
Also, after your child provides an answer give them a second wait time, allowing additional time to add to their initial thoughts.
So often we ask children questions and lose patience and answer them ourselves. Answering your own questions creates a negative expectation in your child that you already have an answer in mind.
This habit is easy to fall into and very difficult to undo. As soon as your child believe that you will answer your own questions they will sit back in their seat and let you do all the work.
Pace lessons
Mix up the types of lessons that your child is doing and don’t expect that they will concentrate for hours on end. Below is a chart that explains children’s attention spans. Childhood development experts generally say that a reasonable attention span to expect of a child is two to three minutes per year of their age. That’s the period of time for which a typical child can maintain focus on a given task.
Average attention spans work out like this:
| Age | Attention Span |
| 2 years old | four to six minutes |
| 4 years old | eight to 12 minutes |
| 6 years old | 12 to 18 minutes |
| 8 years old | 16 to 24 minutes |
| 10 years old | 20 to 30 minutes |
| 12 years old | 24 to 36 minutes |
| 14 years old | 28 to 42 minutes |
| 16 years old | 32 to 48 minutes |
Some developmental researchers put the upper limit at five minutes per year of a child’s age, meaning a two-year-old could be able to focus on a task for up to 10 minutes at a time. Of course, these are only generalisations.
Other factors affecting attention span:
- how many distractions are nearby
- how hungry or tired the child is
- how interested they are in the activity
Tip Four – Read, Read, Read: you can’t do too much of this!
Drop Everything and Read (D.E.A.R.)
This is a reading regime that is used in many schools. It encourages children to read and is a great way to refocus a child back into the learning space. To make this work, you must also be reading a book. Not working on a computer or texting.
You may like to start with a short time and build up to at least 15 minutes. These 15 minutes are SILENT. This sort of program is sometimes known as Silent Reading. (The key is in the name.)
Note: It is okay for your child to be reading anything but a device – a comic book, fiction, non-fiction, a book on footy stats, a recipe … anything at all that encourages engagement with written printed material.
Tip Five – Scaffold Learning
Although the times we are in are stressful, there may be a silver lining when you get an opportunity to spend quality one on one time with your child.
When you work one-on-one you are able to identify what your child can do without any assistance, and what can be achieved with guidance and encouragement.
The idea is not to ‘do the work’ but rather it is to scaffold the learning, providing tips, prompts, learning tools and posing questions that will enable the learner to ‘get there’ – essentially on their own.
There needs to be some base knowledge that your child has, that is built on by providing enriching tasks. Some children will need only one to two repetitions for mastery, while some will need to be provided with a range of different prompts that will get them to the same understanding.
The role of educators is to identify skills that children are close to mastering and providing opportunities for them to expand their mastery.
Imagine a circle – maybe the size of a grapefruit. This represents everything your child knows and can do. Now imagine another circle – maybe a rockmelon. Now you have an image of a doughnut.
The space between the inner and outer circle – this ring – is the place where you can scaffold learning in order for your child to get to the next outer layer and so on to expand their knowledge base.
Karen is an educational consultant and co-founder of MAPPEN.
More resources on The Parents Website on remote learning
Learning from home and returning to the classroom
Andrew Fuller: a parent guide to learning from home
Going global: Top tips for learning at home
Learning at home: Our big list of great resources
How boredom can inspire creativity
At home with the little ones? Great ideas to keep the learning routine going – and have fun
Andrew Fuller: Seven things for a smooth transition back to school-based learning
Lessons from Lockdown: the good things we’ve discovered
For teachers
Andrew Fuller: remote learning tips and ideas for teachers
Resilience, commitment and hardwork: how teachers are meeting the challenge in these strange times
Subscribe to The Parents Website
Similar Articles

Learning at home: Our big list of great resources
We've created a list of learning at home resources from around the world for parents and kids, to complement the remote learning provided by schools.

Our super list of great ideas for kids at home
Play the new Science Island game, learn how to juggle, plus fun activities from The Gruffalo books – all new on our updated list of ideas for kids of all ages, curated from around the world.
At home with the little ones? Great ideas to keep the learning routine going – and have fun
The most important thing is to keep your child’s routine as close to the daily routine offered within their early learning service, writes Helen Schiele.
Similar Articles
Learning at home: Our big list of great resources
We've created a list of learning at home resources from around the world for parents and kids, to complement the remote learning provided by schools.
Our super list of great ideas for kids at home
Play the new Science Island game, learn how to juggle, plus fun activities from The Gruffalo books – all new on our updated list of ideas for kids of all ages, curated from around the world.
At home with the little ones? Great ideas to keep the learning routine going – and have fun
The most important thing is to keep your child’s routine as close to the daily routine offered within their early learning service, writes Helen Schiele.